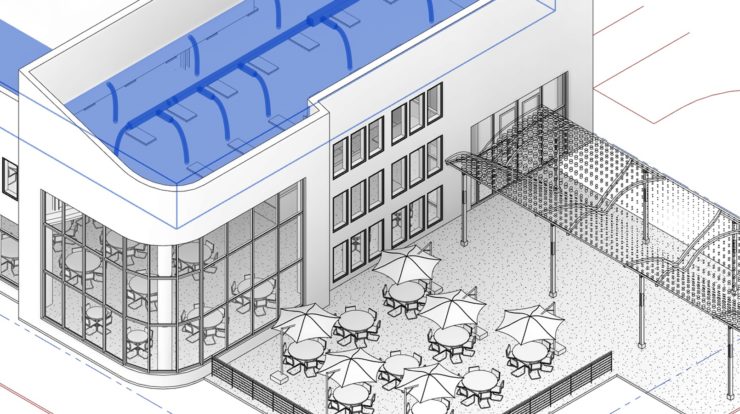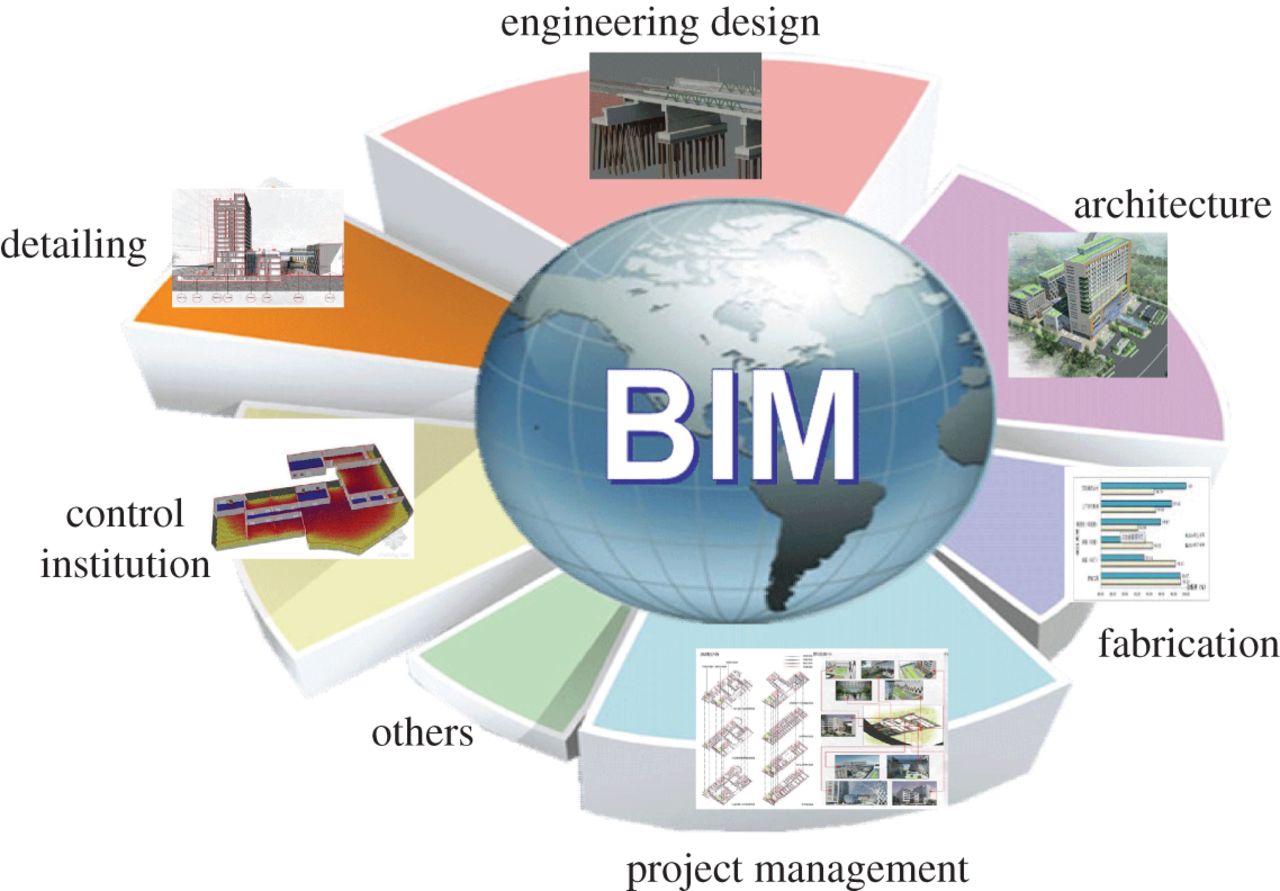
The modern successor of AutoCAD, Revit is an extremely diverse software capable of high potency BIM implementations. BIM service providers working on a Revit design will usually start with a standard template, then modify elements and families as required. While this tried and tested approach has been a staple for AEC and MEP experts, recent years have seen them turn to custom Revit design templates, the advantages of which can be extraordinary when properly implemented.
Convenience of Custom Revit Templates
Revit designs can be approached in near innumerable ways. But regardless of which method is employed, very rarely will a designer, engineer and other relevant parties start from scratch – instead opting for a template. Custom templates go a step further, adding incredible potential to these already sturdy starting points.
- As a multi-disciplinary practice, BIM integration involves various parties collaborating and working in unison. Custom Revit design templates can help bridge the gap between these parties, providing a clearly defined environment to work in.
- Imperial or metric? Depending on who the BIM service provider is working for, unit types can become a major hassle to deal with. Converting these type to one or the other during project implementation is very time consuming and confusing. Custom templates also address this issue.
- By making use of naming conventions, custom Revit design templates can help designers immediately identify out of place elements and the level or view they should be working in.
- Custom templates are a great way to adhere to standards and regulations imposed at a state and country levels, maintaining quality and consistency throughout the Revit design.
7 Steps to a Professional Revit Design Template
Even some of the most accomplished construction designers are unaware of the awesome potential a custom Revit design template brings to the table. By following these 7 simple steps, you can set up a custom Revit design template, adaptable to any type of project, improving team productivity by leaps and bounds.
- The Standard Template
Revit’s standard template was created with many disciplines in mind. It hosts an impressive range of functionalities – hidden and apparent, to optimize design engineering. Start creating your custom Revit design template based off this solid foundation, to avoid beginning from the very minute basics. At the end of our custom build, you can simply save the template as a brand new file. - Prefixes
In this step, we will attach custom prefixes at the beginning of every element, to help easily distinguish them from elements in a standard Revit design template. This is a lengthy one time process, but one that will save time and circumvent any confusion in the future. - Families
It is very common for lengthy monikers of family > element relationships to get cut off in a Revit design. We suggest using shorthand and highly readable abbreviations for elements in your custom template. Additionally, elements belonging to the same family will have similar abbreviations, albeit with incremental numerical values. So for example, elements such as windows would be denoted as WIN1, WIN2, WIN3, etc. - Lines
By default, lines are labeled as medium, heavy, etc. These labels can be modified to better represent what type of line is being chosen (dotted, dashed, solid), the color of the line and even line width. Furthermore, you can even edit the exact line weight corresponding to different scales and create a highly customized Revit design template. - Views
Adding a numerical prefix to views can help organize them in hierarchical or sequential order, improving collaboration between different teams and reducing error incident rates. This will also clearly structure your Revit design. - Units
Depending on where the client comes from, BIM service providers may be asked to work in either Imperial or Metric units. This issue of unit conversion can be tackled in two ways. The traditional approach is to create two separate templates, one for each unit type. Such an approach requires twice the work when any modifications have to be made. A far simpler approach is to use one single Revit design template, with families of elements duplicated and appropriate suffixes attached. For example, a molding family would be segregated into both unit types as ‘Moulding(IMP)’ and ‘Moulding(MET)’. - Starting Page
Revit even offers an option to create your own starting view page, so every time you fire up the software you are greeted by the chosen page. By default, Revit opens the last worked on view. If this view happens to be a particularly bulky one, it can eat up memory, space and a lot of time. Implementing a startive view page in your custom Revit design can help prevent all of the above.
We hope our article helped you optimize your designing process! Head over to Technostruct for more on Revit designs and tricks.


