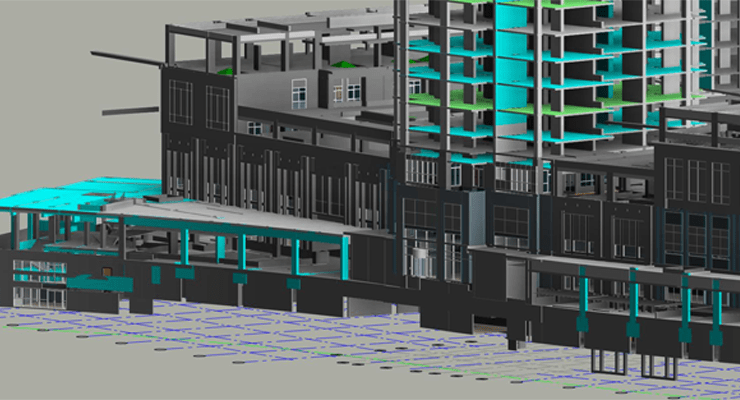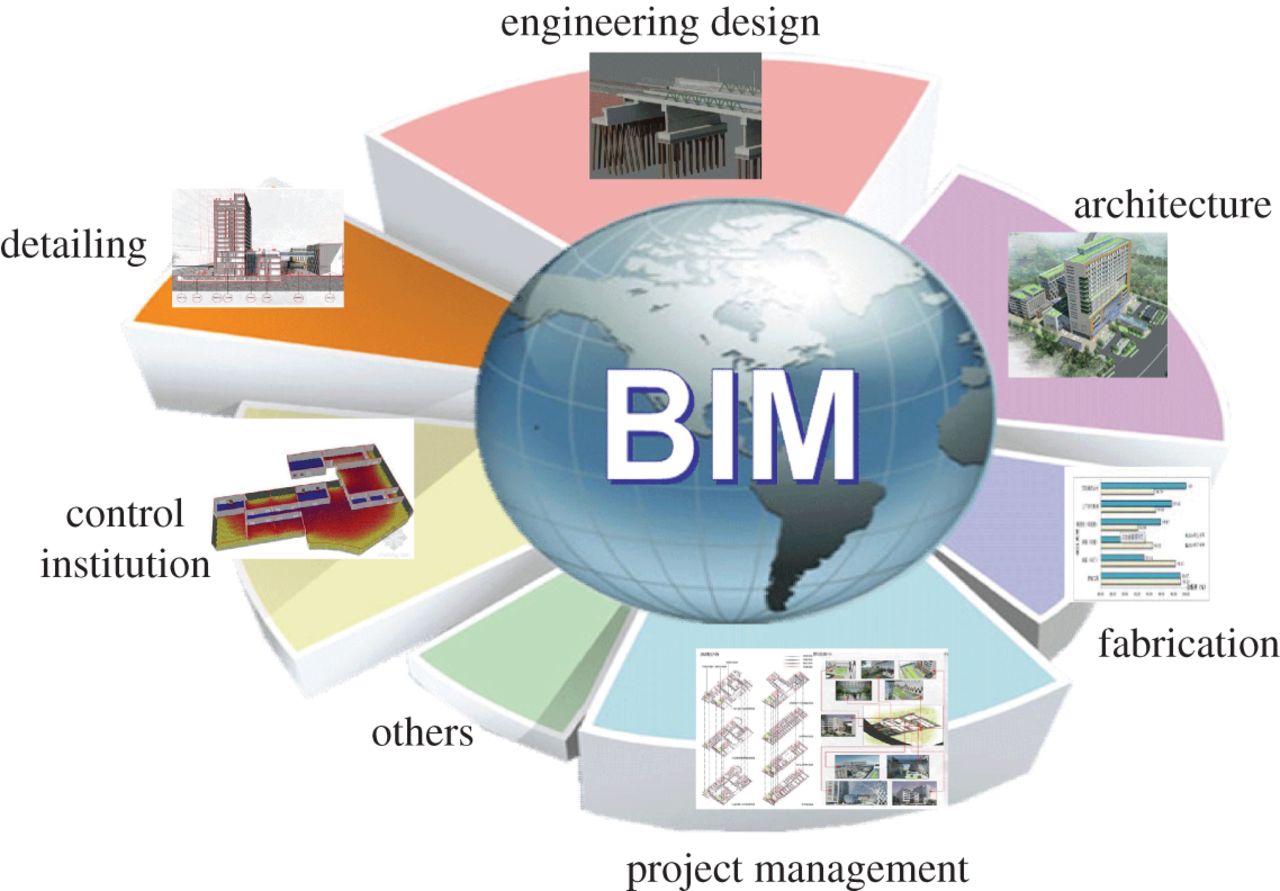
Modern construction firms are seeing greater use of Building Information Modeling (BIM) practices than ever before. But as we step into a more futuristic tomorrow, there is numerous design of yesterday that still need to be brought into the framework of BIM design.
This leads to techniques for the scan to BIM, a process through which physical hard copies of schematics can be converted into detailed BIM implementations, using a simple three-phase process:
- Phase 1: Laser scanning of the design
- Phase 2: Categorizing and ordering of scans
- Phase 3: Converting scans to BIM designs
While scan to BIM is still gaining popularity, there are a rough set of best practices to create flawless designs. Here are a few tips to help you get started.
Phase 1: Scanning
To create an accurate 3D building design from printed schematics, it is extremely important to have a standard set of procedures that your field staff can follow. These designs are scanned on-site, so any mix-ups can create huge lapses in time and budget.
- Create a step by step checklist for your field experts to go through
- Define the exact level of detail you’d like to see in the scan
- Use only the highest quality laser scanners, which are able to pick up even the most minuscule of colour density data. The more detailed the scan, the less time it will take to model, and the more you’ll save!
- Ensure there is proper documentation of the entire process. This can be done through in-field comments, taking detailed photographs of the schematics and a video walkthrough with the construction designer.
Phase 2: Ordering
Number scans to create a successive order of system implementation. Good scan to BIM designs will have perfectly aligned models. This can also be done by referring to field documentation such as images and videos of the original schematic.
Phase 3: Converting
The final phase of scan to BIM is probably one of the least crucial ones, yet there are many obstacles to a good BIM implementation, which can throw even seasoned professionals off their game.
- First, ensure that all scans adhere to a required level of detail specified. You don’t want to start the converting process only to realize one of your scans needs to be redone.
- Upload scans onto Revit or any other 3D design software of your choice. But do so in an organized manner, by following the numerical order of the scans.
- Scans are uploaded to the software in form of a point cloud of millions of data points. These can get really confusing to deal with if not segregated into the appropriate levels. Create different levels of elevation and set up a depth of views as per the original schematics.
- Refer to the field documentation to solidify your BIM design and fix any discrepancies.
And that’s it! You now have a ready to go BIM design. For more information on BIM, detailed BIM consulting services and other 3D building design support.


